A delightful little game about throwing together your own underground network - at least it's always been 'throwing together' rather than 'building' in my experience, since I feel building has an implication of planning and careful forethought. Both of these things are usually lacking in my attempts at the Commuter game mode, where you have to expand your network to cope with new stations and ever increasing passenger numbers, while preventing any one station getting too overcrowded. While you do get more trains, extra carriages, and more infrastructure (new lines and more bridges/tunnels to cross water), the challenge is integrating everything together effectively.
Commuter mode is generous in this, because you can redraw or even remove whole lines at will, which is something I quite often end up doing when a new station appears in an awkward location. The tougher Rush Hour mode doesn't allow this, meaning once you've laid down track and connections, they're there to stay. You can also enjoy the Scenic mode, which doesn't have a fail state, including switching to it after losing one of the other modes, which is a nice touch.
You also have the option to take a screenshot of your network when a game ends, forming your own little collection of subway maps. A collection of mine are below, some of which you'll see are more plausible and coherent than others... along with a bit more about the actual gameplay.
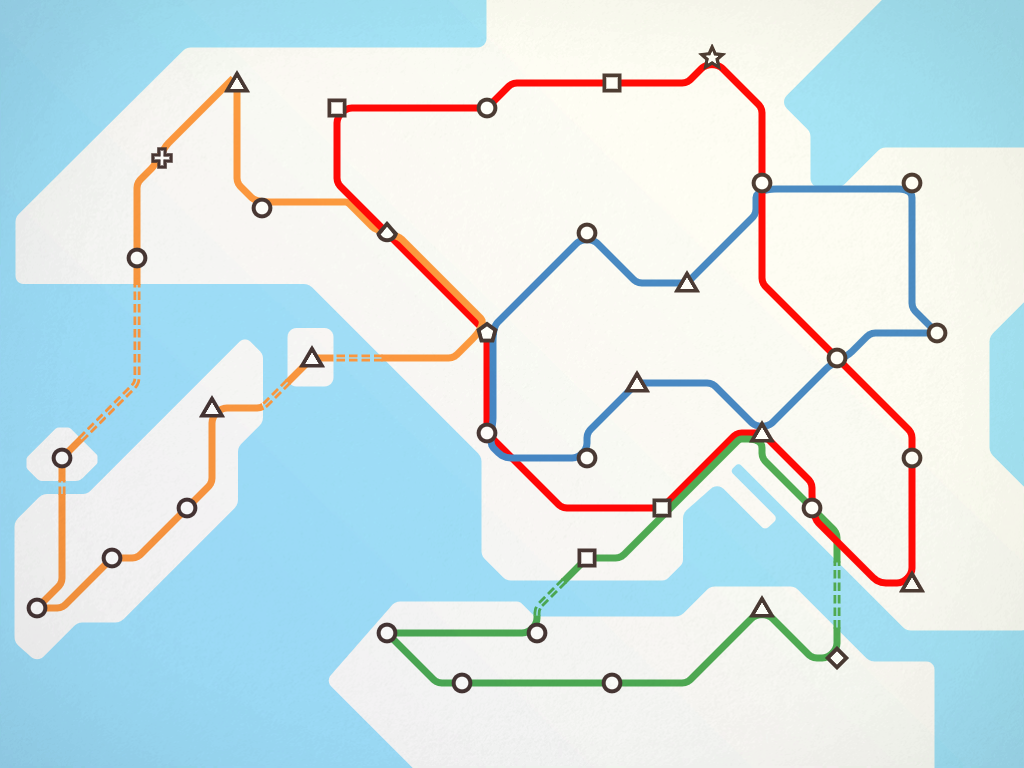
I like this one of Hong Kong (I scored 1103) because it's very clean. Only four different lines, mostly serving their own areas. My understanding of the different station types is that the most common are circles, then triangles, then squares. Circles generate most passengers, with triangles and squares generating less. On top of those you have the unique stations of different shapes. Passengers are identified solely by the type of station they want to visit. This means at a basic level, as long as a line has one of each standard station type, you don't need interconnection between lines. That's where the unique stations come in of course, to stop you just making a bunch of unconnected lines.
In the end, it was the upper-right circle station linking the red and blue lines that got overcrowded, I think probably because of star passengers being offloaded by the blue line. Two stations on the orange line were close to collapse as well - orange line was too long, and I didn't have enough trains and carriages to serve it.
In the end, it was the upper-right circle station linking the red and blue lines that got overcrowded, I think probably because of star passengers being offloaded by the blue line. Two stations on the orange line were close to collapse as well - orange line was too long, and I didn't have enough trains and carriages to serve it.
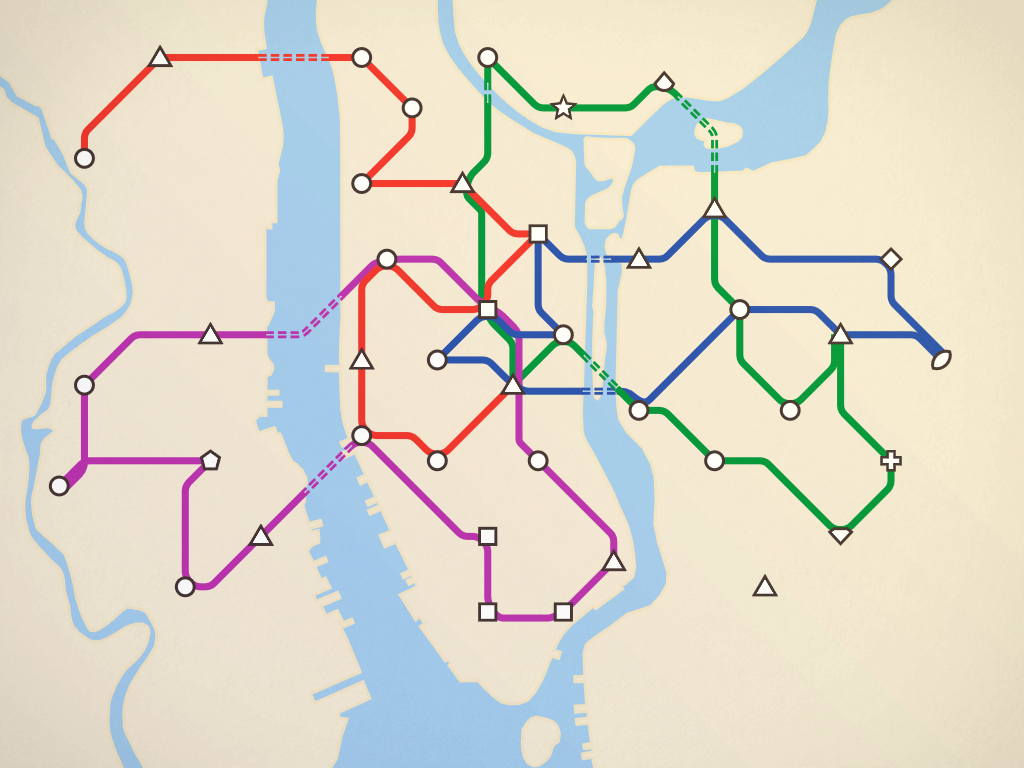
New York City, with almost my best score of 1650. The lines are much more connected here, particularly in the centre. I remember having difficulties with bridges here - every time you cross water, it uses up a bridge or tunnel. You can get more, but only as an alternative to something else - a new line, or an extra carriage. It's not an easy decision. I assume a shortage of bridges is what led to the creation of the non-looping red line - I like to make loops where possible; I feel the passengers just flow better around loops (this is likely not true in every case, or even many cases - I'm by no means an expert at this game).
It was the red line circle station in the north, just after it splits from the green line, that got overwhelmed. I think I couldn't get enough trains running there to get people out of that part of the red line quick enough.
It was the red line circle station in the north, just after it splits from the green line, that got overwhelmed. I think I couldn't get enough trains running there to get people out of that part of the red line quick enough.
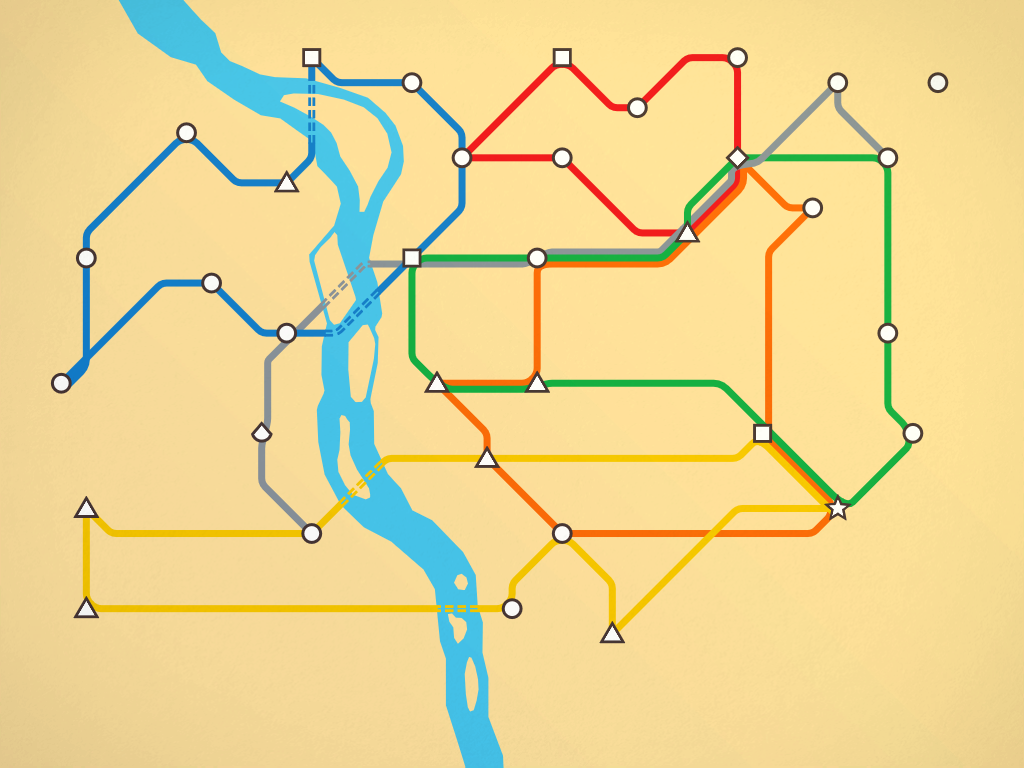
Cairo, 988. There are six lines here compared to the four in the others. A series of loops, with the grey line running between them all, I suppose with the aim of helping to manage unique station passengers and taking some strain off the other lines, though I only got far enough to have three unique stations in play.
It was the blue + grey circle station on the east bank that ended it - too many passengers sat there trying to get to the unique station just to the south. I'm not entirely sure why only the grey line is serving that. Of course, it's always possible that these end-game screenshots are actually showing a panicky reconstruction of a very different network, as I try to improve things by tearing out and changing lines around the overcrowded stations. Maybe that unique station was being served by other lines, but I was responding to some other problem and unwittingly left it out in my redesign. That's also why you can see the unconnected circle in the top right - I simply hadn't got round to connecting it yet.
It was the blue + grey circle station on the east bank that ended it - too many passengers sat there trying to get to the unique station just to the south. I'm not entirely sure why only the grey line is serving that. Of course, it's always possible that these end-game screenshots are actually showing a panicky reconstruction of a very different network, as I try to improve things by tearing out and changing lines around the overcrowded stations. Maybe that unique station was being served by other lines, but I was responding to some other problem and unwittingly left it out in my redesign. That's also why you can see the unconnected circle in the top right - I simply hadn't got round to connecting it yet.
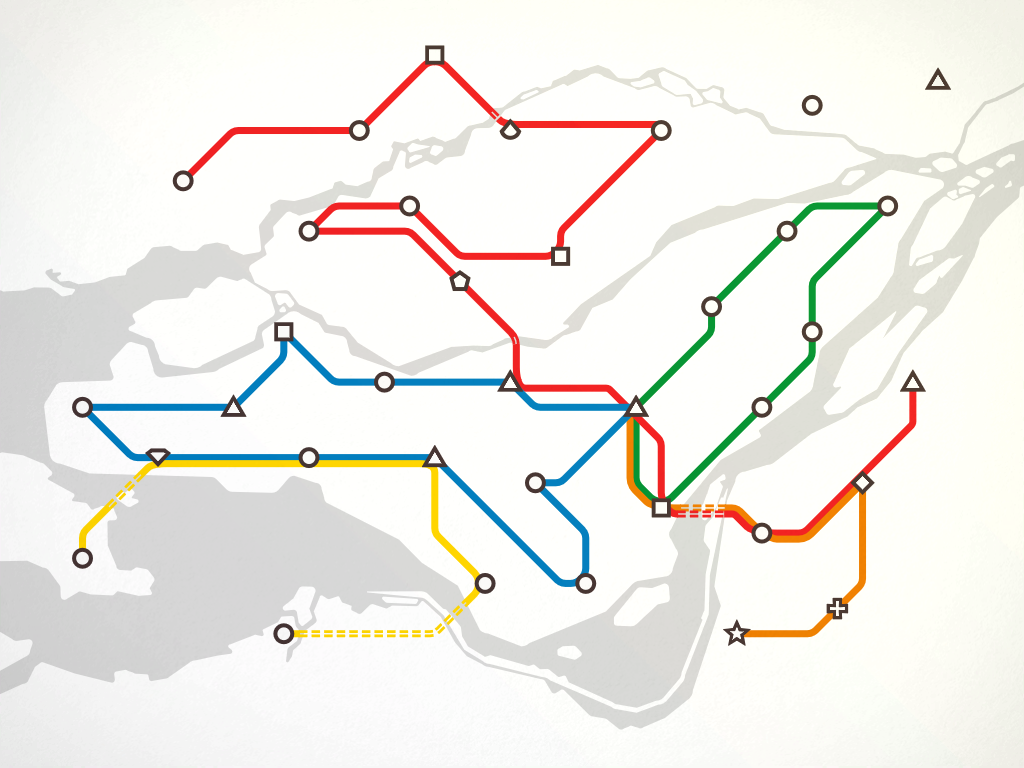
Somehow, I managed 1713 on this Montréal network. As you can see, there's a lot of water, which I've tried to cope with by using a couple of loops to serve the centre and connect the other lines, while sending out tendrils to hook in the outlying stations. I was probably out of bridges to connect the stations in the top right, or I needed a new line because expanding the green loop up there would have cost too many bridges.
It was a red circle station that got too full, not surprising if you look at the ridiculous length of the line. I'm not sure why I didn't trim it back and leave the orange line, already quite short, to handle the eastern stations.
It was a red circle station that got too full, not surprising if you look at the ridiculous length of the line. I'm not sure why I didn't trim it back and leave the orange line, already quite short, to handle the eastern stations.

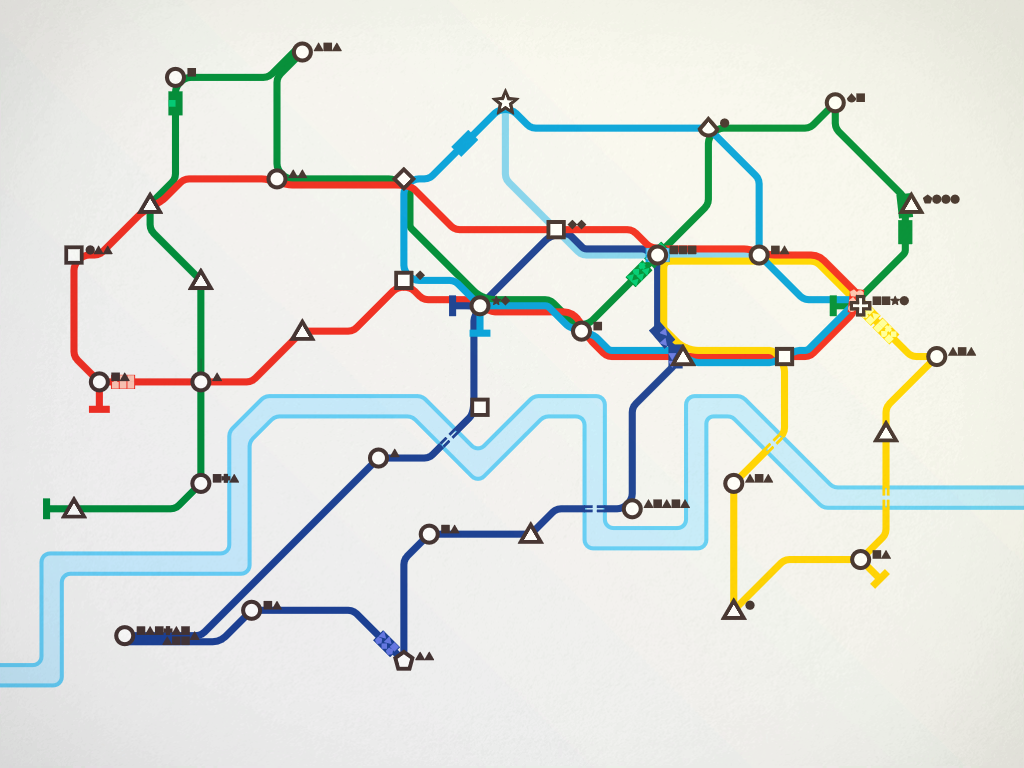
Finally, there's this Auckland network (843), which I believe is the most challenging map in the game, based on ground/water layout and station spawning patterns. I like this one, though it wasn't terribly effective. Maybe just something to do with the colours of the lines.
I've had a lot of fun with Mini Metro, and the interface as you drag out and reposition track and trains is just wonderful. Suitable for quick, tense games in Commuter or Rush Hour, or ponder and tweak details as you try to put together a perfect network in Scenic mode - and you get a lovely little map at the end of each game. What's not to like?
I've had a lot of fun with Mini Metro, and the interface as you drag out and reposition track and trains is just wonderful. Suitable for quick, tense games in Commuter or Rush Hour, or ponder and tweak details as you try to put together a perfect network in Scenic mode - and you get a lovely little map at the end of each game. What's not to like?
 RSS Feed